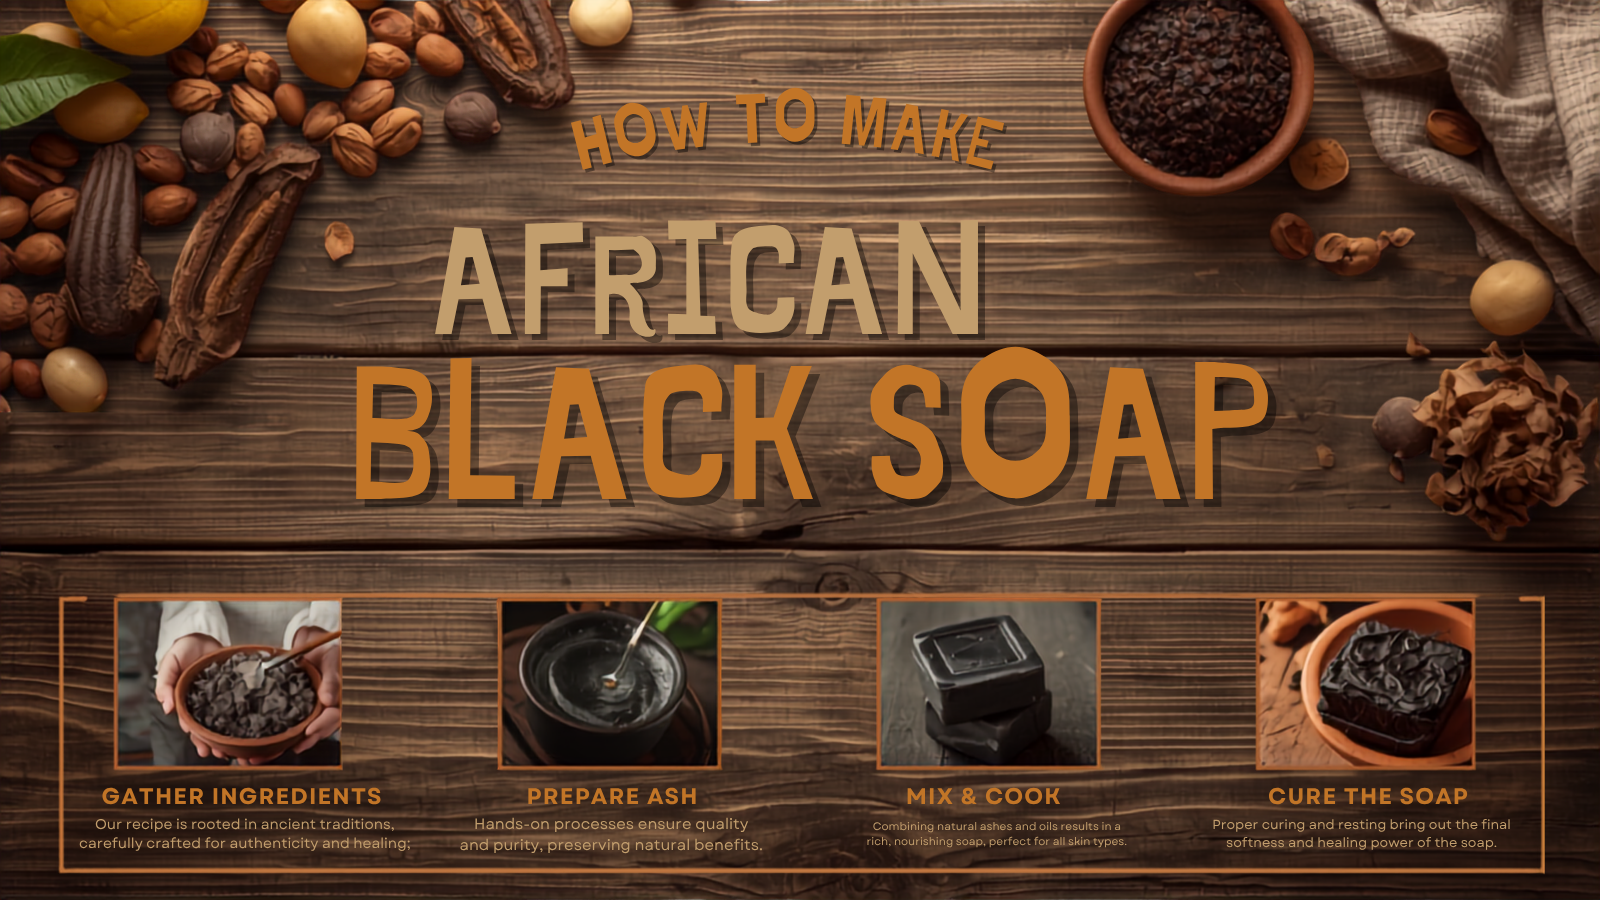
How To Make African Black Soap
Understanding African Black Soap
African black soap has been treasured for centuries across the African continent. This all-natural cleanser is renowned for its incredible skin benefits and gentle, nourishing properties. Unlike commercial soaps filled with harsh chemicals, traditional black soap contains only organic plant-based ingredients that work in harmony with your skin.
Key Active Ingredients
The power of African black soap comes from its carefully selected plant-based ingredients. Each component plays a vital role in delivering the soap’s remarkable benefits:
Primary Ingredients:
- Cocoa pod ash
- Palm kernel ash
- Shea bark ash
- Palm leaf ash
- Plantain leaf ash
Base Oils:
- Virgin coconut oil
- Palm kernel oil
- Shea butter
- Virgin olive oil
- Natural glycerin
Why These Ingredients Matter
Plantain skins and potash: Excellent sources of vitamins A and E, which promote skin healing and rejuvenation. Glycerin: A natural humectant that helps your skin retain moisture throughout the day, preventing dryness and flakiness. Palm kernel oil: Contains natural lubricating properties, making it ideal for moisturizing dry skin. Shea butter: Rich in fatty acids and provides deep nourishment and conditioning.
Equipment You Will Need
Before you begin, gather these essential tools. Quality equipment ensures better results and a safer soap-making experience:
- Mortar and pestle
- Large bowl
- Small bowl or bucket
- Double boiler
- Pot
- Stirring spoon
- Heat-resistant gloves
- Soap molds
- Lighter or heat source
- Hand press (for oil extraction)
- Strainer
- Distilled water
Step-by-Step Instructions
Follow these detailed steps to create your own batch of authentic African black soap. The entire process typically takes just a couple of hours.
Extract and Prepare Base Oils
Start by creating your base oil. If you have access to fresh coconut husks or shea tree bark, use a hand press to extract the oil. Alternatively, you can purchase bottled natural palm oil or shea butter as substitutes. Remember that your oil should not exceed half the capacity of your double boiler. This prevents overflow and ensures even heating.
Create the Ash Base
Gather your plantain skins and cocoa pods. Burn them together and collect the resulting ash. Place the ash into a bowl and add distilled water while continuously stirring the mixture. Keep adding ash and water until you reach your desired consistency. A thicker consistency will create a more solid soap, while a thinner mixture yields a softer product.
Heat the Oil
Pour your prepared base oil into the double boiler and heat until it reaches a liquid and smooth consistency. Use medium heat to prevent the oil from smoking or burning. Maintain steady heat throughout this process for best results.
Combine Ingredients
Once the oil is warm and liquid, slowly add your ash mixture. Continue stirring continuously until the entire mixture turns into a deep, dark brown color. This merging of ingredients is crucial for creating the characteristic color and texture of authentic black soap. Keep the burner on low heat throughout this process.
Optional: Add Fragrance and Texture
For a lightly scented soap, add one or two drops of lavender oil or your preferred essential oil. You can also add dried plant parts such as dried lavender, rose petals, or ground oatmeal. This step is optional but adds a personal touch to your soap bars and enhances both scent and exfoliating properties.
Pour Into Molds
As your soap mixture continues to cool, you will notice films of the liquid soap forming on the sides of the double boiler. Carefully scoop these films and transfer them into your prepared molds. Pack the soap mixture firmly into the molds to ensure proper formation.
Allow to Cure
Leave your soap bars in the molds to harden for up to two weeks. During this time, the soap will firm up and the ingredients will fully integrate. The longer curing time allows for a harder, longer-lasting bar. After two weeks, your soap is ready to use or package.
Proper Storage and Handling
Since black soap dissolves easily when exposed to water, proper storage is essential to extend the life of your soap bars.
Storage Guidelines:
- Store in a dry place: Keep your soap bars away from moisture and humidity. A cool, well-ventilated area is ideal.
- Cut into smaller pieces: Rather than exposing the entire bar to water each time you shower, cut your soap into smaller cubes. This reduces water exposure and extends the life of your remaining soap.
- Use a soap dish: Always place your soap on a well-draining soap dish that allows water to drain away quickly.
- Keep in an airtight container: When not in use, store your soap in an airtight container to prevent moisture absorption.
The Benefits of Making Your Own Soap
Creating your own African black soap at home offers numerous advantages over purchasing commercial products:
100% Natural Ingredients
You control exactly what goes into your soap. No parabens, sulfates, or synthetic chemicals that can irritate sensitive skin.
Cost Effective
Most ingredients are available at food and health stores at a fraction of commercial soap prices. The entire batch takes just a couple of hours to make.
Authentic Formula
Commercial black soaps often use ingredient substitutes that don’t work as effectively as the original ingredients. Making it yourself ensures you get the real thing.
Customizable
Add your favorite essential oils, herbs, or other natural ingredients to create a soap tailored specifically to your skin’s needs.
Key Benefits of African Black Soap
Whether you’re addressing specific skin concerns or simply looking for a natural cleanser, African black soap delivers impressive results:
- Acne and breakout relief: Clears acne-prone skin and prevents future breakouts.
- Soothes skin conditions: Helps alleviate psoriasis, eczema, and other irritating skin conditions.
- Antibacterial properties: Natural antibacterial and antifungal agents protect against harmful microorganisms.
- Maintains skin elasticity: Preserves the natural moisture and elasticity of your skin.
- Makeup removal: Gently removes makeup without harsh rubbing or stripping the skin.
- Hair conditioning: Dissolve soap in water to create a liquid hair cleanser perfect for dry, damaged hair.
Conclusion
African black soap represents centuries of natural beauty wisdom. By making your own bars at home, you honor this tradition while ensuring that you are using only the highest quality, most effective ingredients. The process is simple, the results are remarkable, and your skin will thank you.
Now that you have the knowledge to make authentic African black soap, you are ready to create your own supply of this transformative natural skincare product.
Ready to Make Your First Batch?
Get the complete 17-recipe guide with exact measurements, yields, and step-by-step instructions. Acne solutions, skin whitening, baby-safe soaps, and more.
Get My Free EbookYour download link appears instantly on the thank you page after you enter your email.